VanHub
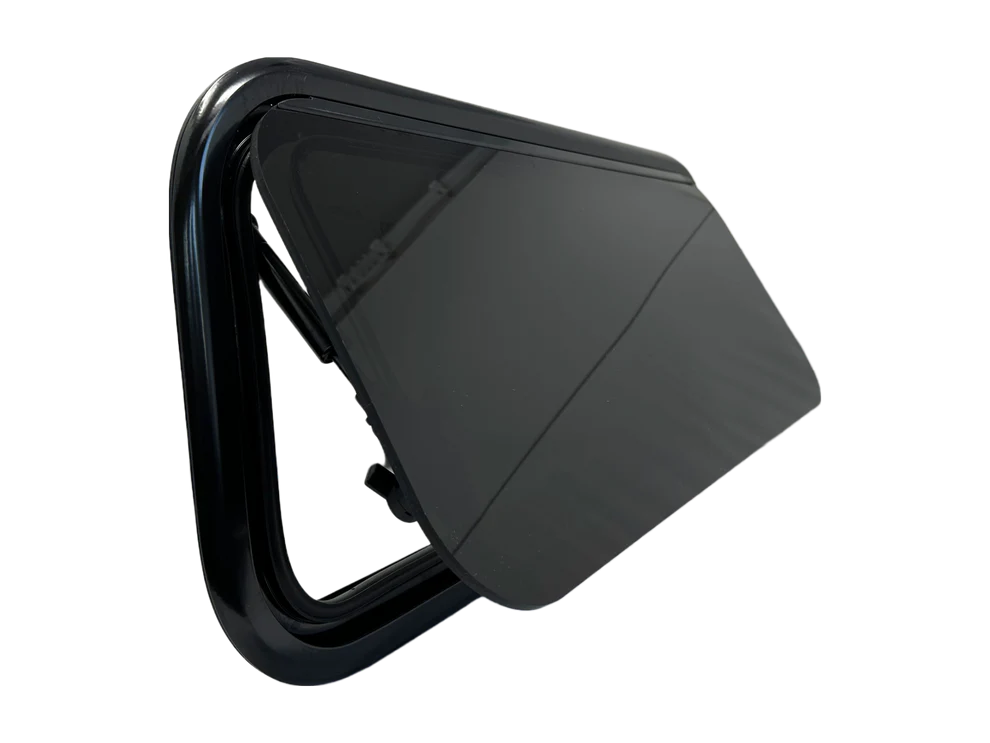
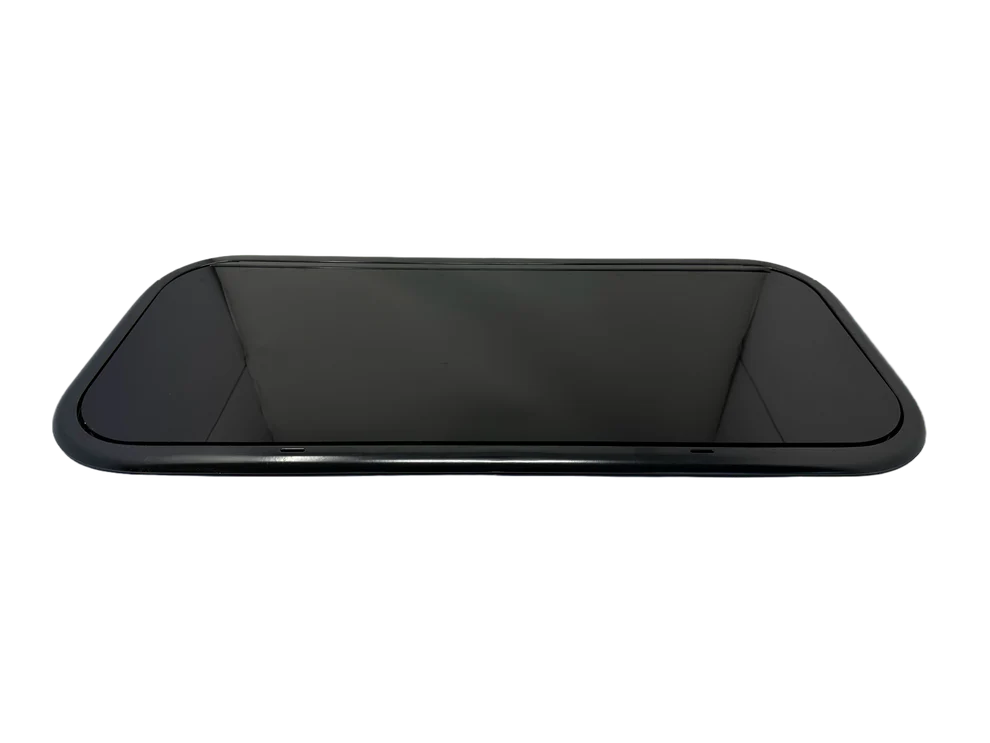
RSC Awning Window 700mmx300mm/27.56"x11.81"
RSC Awning Window 700mmx300mm/27.56"x11.81"
Couldn't load pickup availability
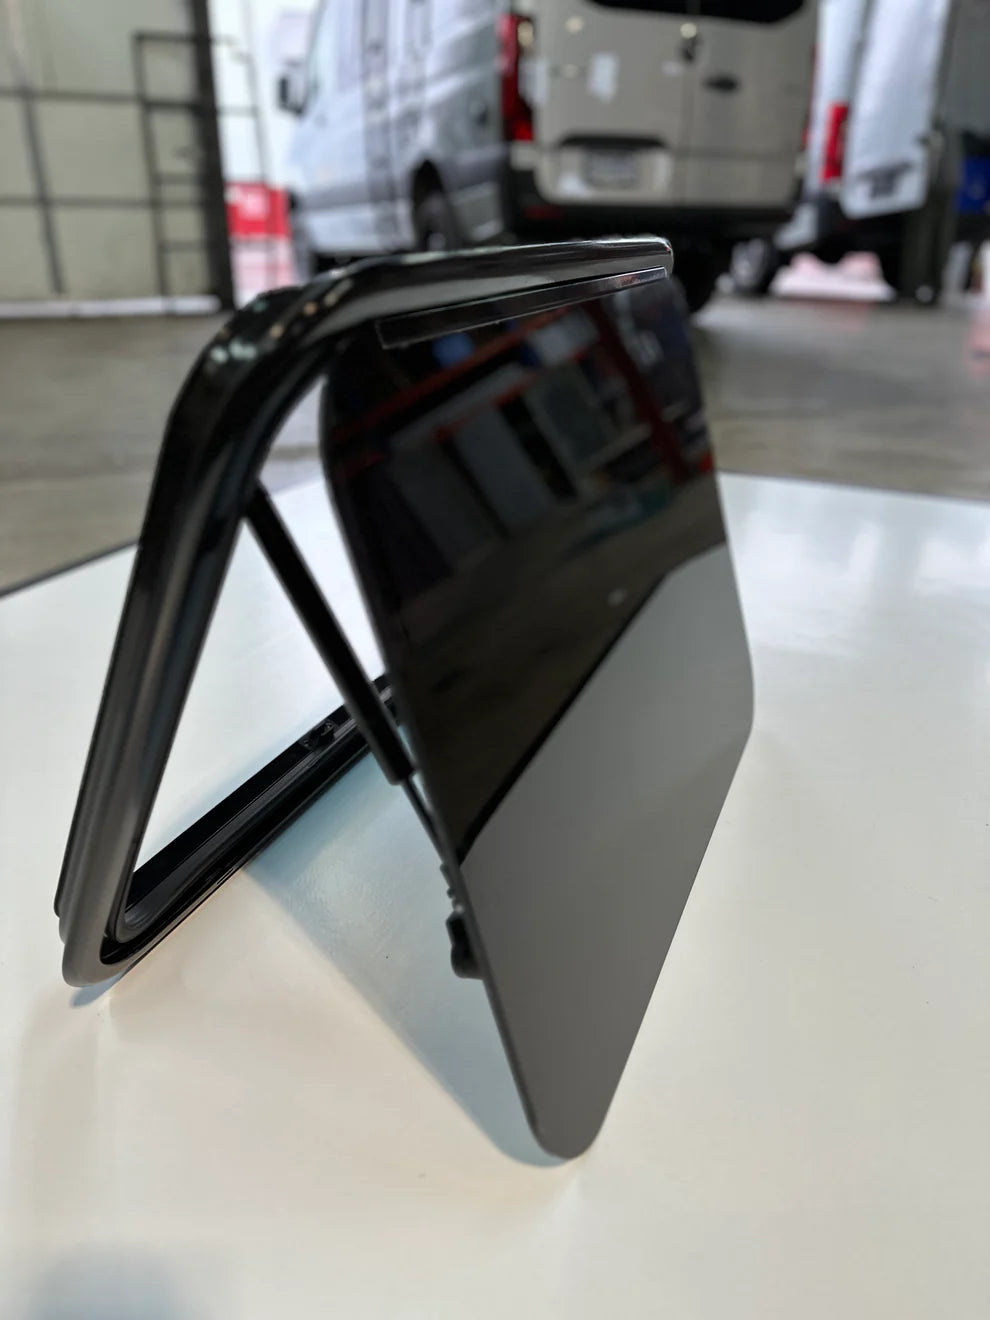
Featuring hydraulic struts that stop at any level, these windows provide complete control over light and ventilation levels in your space. With a long-lasting and reliable build, the hydraulic struts are tested to withstand up to 20,000 uses, ensuring a product that is built to last.
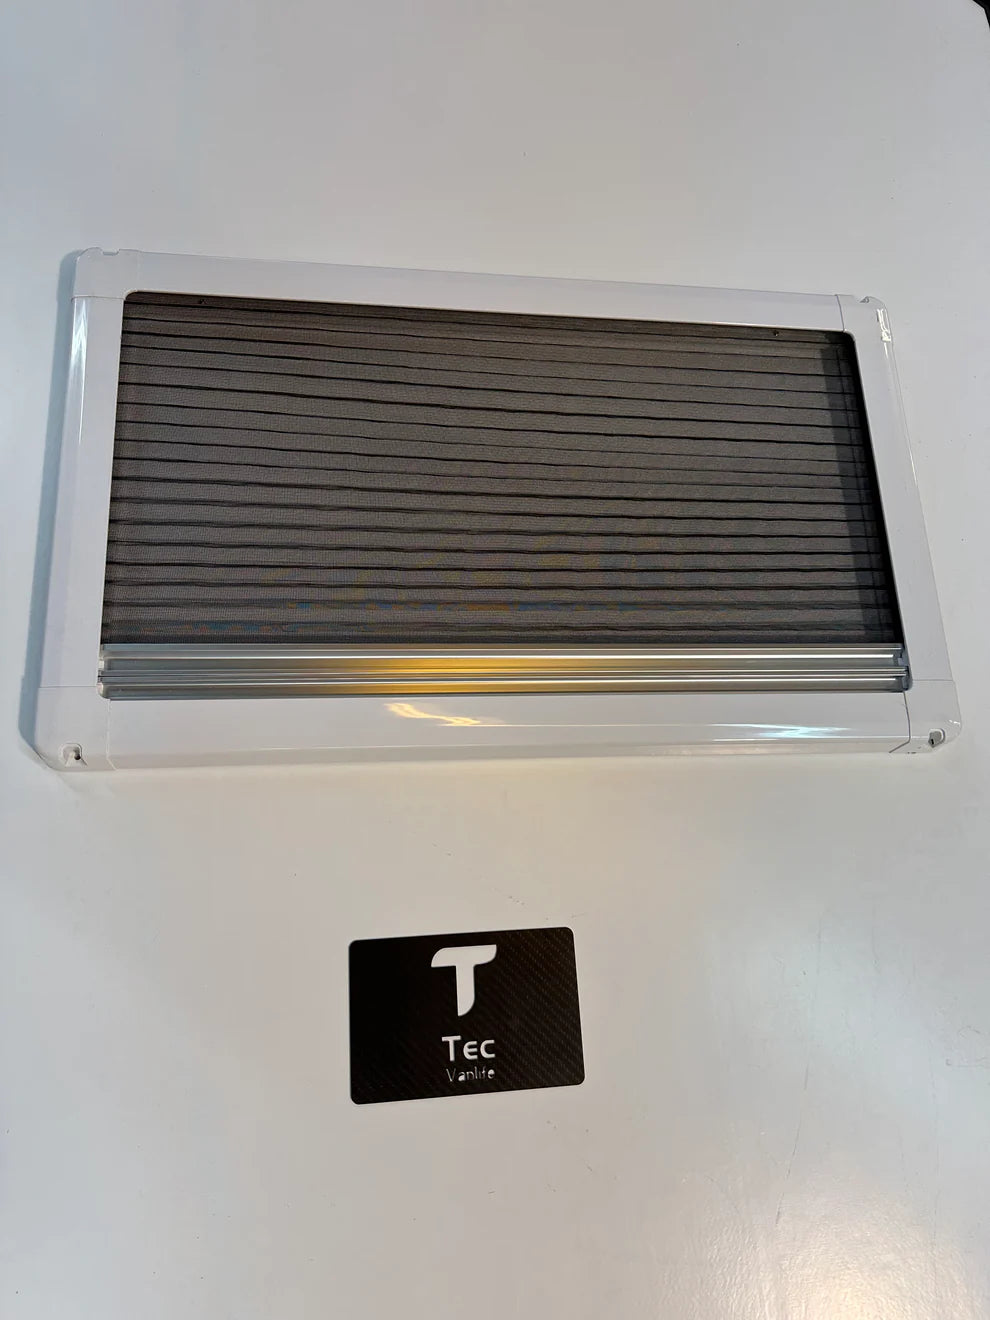
The RSC Flat Windows come equipped with heavy-duty powder-coated aluminum alloy frames, providing a sturdy and reliable hold. The window handle is made of durable plastic, while the handles for the insulated blinds and bug screens are made of aluminum, adding an extra touch of elegance and durability.
Designed to provide maximum protection against harsh weather conditions and drafts, the RSC Flat Windows feature insulated UV-resistant acrylic double-pane glazing and high-quality rubber seals. The insulation blinds and bug screens offer complete protection from pests and insulation from outside elements, ensuring your space remains comfortable and pest-free.
With a full 1-year manufacturer's warranty, you can trust that these windows are built to last, giving you complete peace of mind. Upgrade your space with the trusted and reliable RSC Flat Windows today, and experience the best in quality, durability, and style that only Rock Solid Components can provide.
Window Dimension: 700mmx300mm/27.56"x11.81"
Installation Guide:
Prepare the window frame and mark the cutout line.Remove the rubber gasket from the window frame, ensuring a clean surface for adhesion. Position the window on the wall and draw the cutout line. Cut the opening using an air jig saw (recommended). Apply the adhesive:
Apply windshield urethane adhesive along the inner edge of the window frame.
Ensure sufficient adhesive is applied for a strong bond. Use duct tape to cover the surrounding cutout area, allowing excess adhesive to be removed with the tape.
Position the window:
Carefully place the window frame into the cutout. Press the window firmly against the wall, ensuring proper contact with the adhesive.
Secure the window:
Use temporary supports or tape to hold the window in place while the adhesive cures, following the manufacturer's recommendations.
Clean up:
Use a paper towel or lacquer thinner to wipe away any excess adhesive that may have squeezed out from the edges of the window frame.
Allow curing time:
Leave the window undisturbed for the recommended curing time specified by the adhesive manufacturer.
Test the installation:
Once the adhesive has fully cured, check the window for stability and proper sealing, ensuring no gaps or leaks around the edges.
For wall thickness between 6mm-19mm:
Position the window on the wall and draw the cutout line. Cut the opening using an air jig saw (recommended).
Cut wood shims to the required thickness to fill the gap between the window inner frame and the wall. Insert the wood shims between the window inner frame and the wall, adjusting for a snug fit.
Use the trim ring:
Install the window inner trim to securely clamp the window against the wall.
For wall thickness between 20mm-29mm:
Position the window on the wall and mark the cutout line.
Cut the opening using an air jig saw (recommended).
Carefully place the window frame into the opening
. Install the window inner trim to securely clamp the window against the wall.
Choose RSC Flat Windows for a superior window solution that combines style, durability, and functionality.

Introduce your content
Answer your customers' common questions
List a frequently asked question
Then provide an answer that will help your customer make an informed purchase.

